Disable notifications and messages
»» 24.JAN.2022 / updated: ---facebook/twitter
Disable notifications and messages
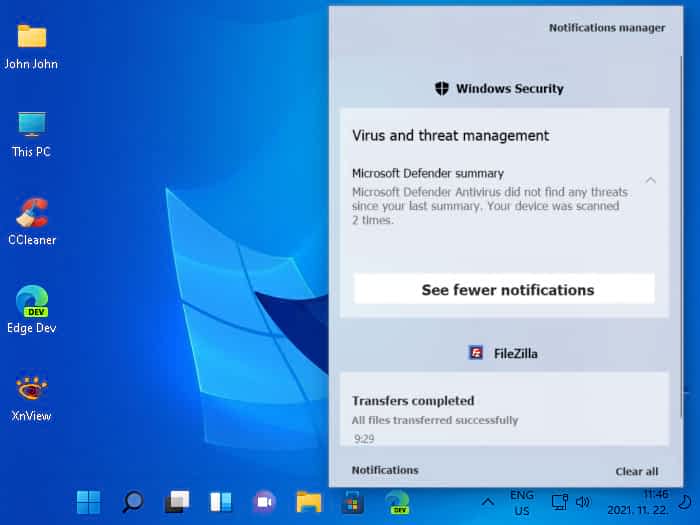
Notifications are sent by the system when an operation is initiated or performed, or notifications are sent by third-party programs, which appear in the lower-right corner of the taskbar, where they provide information about the security status of the system.

Windows Blog-news

Windows 10 updates

Windows 11 updates
![]() Previous part: Turn off or block advertisements...
Previous part: Turn off or block advertisements...
In the Settings window, you'll find suggestions or tips for disabling or enabling notification features, depending on whether or not you want to see pop-ups.
The notification blocking description consists of several parts. You can click on the link that interests you most:
1.) – PART ONE: Setting and blocking notifications...
2.) – PART TWO: Enabling USB Connection Notifications...
3.) – PART THREE: Setting the time when not to disturb the notification...
Quick Tip: It is rarely caused by malware because its purpose is to hide it. Pop-ups not only use your hard drive, but sometimes make it harder and more annoying to use your computer.
Let's begin:
Refers to Microsoft and third-party programs. If the notifications on the right side of the taskbar become annoying after a while, do the following to block:
1.) – PART ONE: Setting and blocking notifications.
Press the Windows -Logo + I keys on the keyboard at the same time.

Click the "Notifications" link with the Little Bell icon.

In the next window, drag the slider to the "Off", if not in this position.

In the same window, scroll down a bit and uncheck the "Get tips and tricks when using Windows" checkbox.

Quick Tip: If you disconnect a USB device (flash drive, external hard drive), you may receive an error message that the system failed to disconnect properly. If this service is disabled, you will not be notified.
2.) – PART TWO: Enabling USB Connection Notifications.
Warning: If no other notifications are important, you can disable them all, but if you connect or disconnect a USB device, it is important to be notified in advance of a possible error, so enable this notification. There are two ways to enable USB device notifications:
A.) – Enable USB notifications in the Settings window.
Press the Windows -Logo + I keys on the keyboard at the same time.
In the Settings window that appears, click the "Bluetooth & Devices" link in the left menu bar. In the next window, scroll down and click the "USB" link at the bottom of the window.

In the next window, under "Connection notifications", drag the slider to "On" if it is off. From now on, a message will always appear in the lower right corner of the taskbar, whether or not it's safe to disconnect your USB device.

B.) – Enabling USB notifications in the database.
Enable or disable USB notifications in Windows 11 using the registry. Do the following:
Press the Windows -Logo + R keys on the keyboard at the same time.

In the "Run" window that appears, type the "regedit" command and press "Enter".

In the registry window, locate the HKEY_LOCAL_MACHINE \ SOFTWARE \ Microsoft \ Shell \ USB entry. Clicking on the USB input will display "NotifyOnUsbErrors".

Right-click this entry, then left-click the "Modify..." button in the small mouse menu. In another small window, change the value to 1 (one) to see notifications for the USB device, or enter 0 (zero) if you do not want to receive notifications.
Let's begin:
If you do not want to make any changes to the database manually, or the description seems complicated, simply download the ready-made file via the link below, which performs the manual operation described above with a single click.
1.) – Download USB notifications activation file, for show notifications: On-NotifyUsbErrors.reg...
2.) – Download USB notifications deactivation file, for hide notifications: Off-NotifyUsbErrors.reg...
After downloading, unzip, and then click File. A warning window (or windows) appears asking if you really want to add the entry to the database? Click the "OK" button.
3.) – PART THREE: Setting the time when not to disturb the notification.
If you don't want to turn off pop-up notifications, you can set them to notify you only for certain periods of time (for example, not to bother during the game, or when editing an important document). Do the following:
Press the Windows -Logo + I keys on the keyboard at the same time.
In the Settings window that appears, click the "Focus Assist" link. In the window that appears, click the down arrow to the right of the option.

After click, you can choose from several notification options (off, priority only, alarms only) in the drop-down window. Read each one carefully and mark the one that is most convenient for you. I have chosen the "Alarms only" radio button so that the other notifications do not appear.

To set more options, scroll down to the "Automatic rules" entry in the same window (shown in the image above) and select when you want Focus Assistant to send notifications. If you don't want notifications, set each slider to "Off".
Quick Tip: Error notifications that occur during use or during an upgrade will not appear if you disable them all, so in case of a possible system error, you will not be able to intervene in time and you will not know what caused the error.
END